Tools Required: Philips Screwdriver, Wrench, Hot WaterFollow along as we show you how to replace the exterior hose and interior jumper hose on a FlowZone® battery powered backpack sprayer.
Watch:
Step-By-Step Instructions:
STEP 1: Disconnect The Exterior Hose
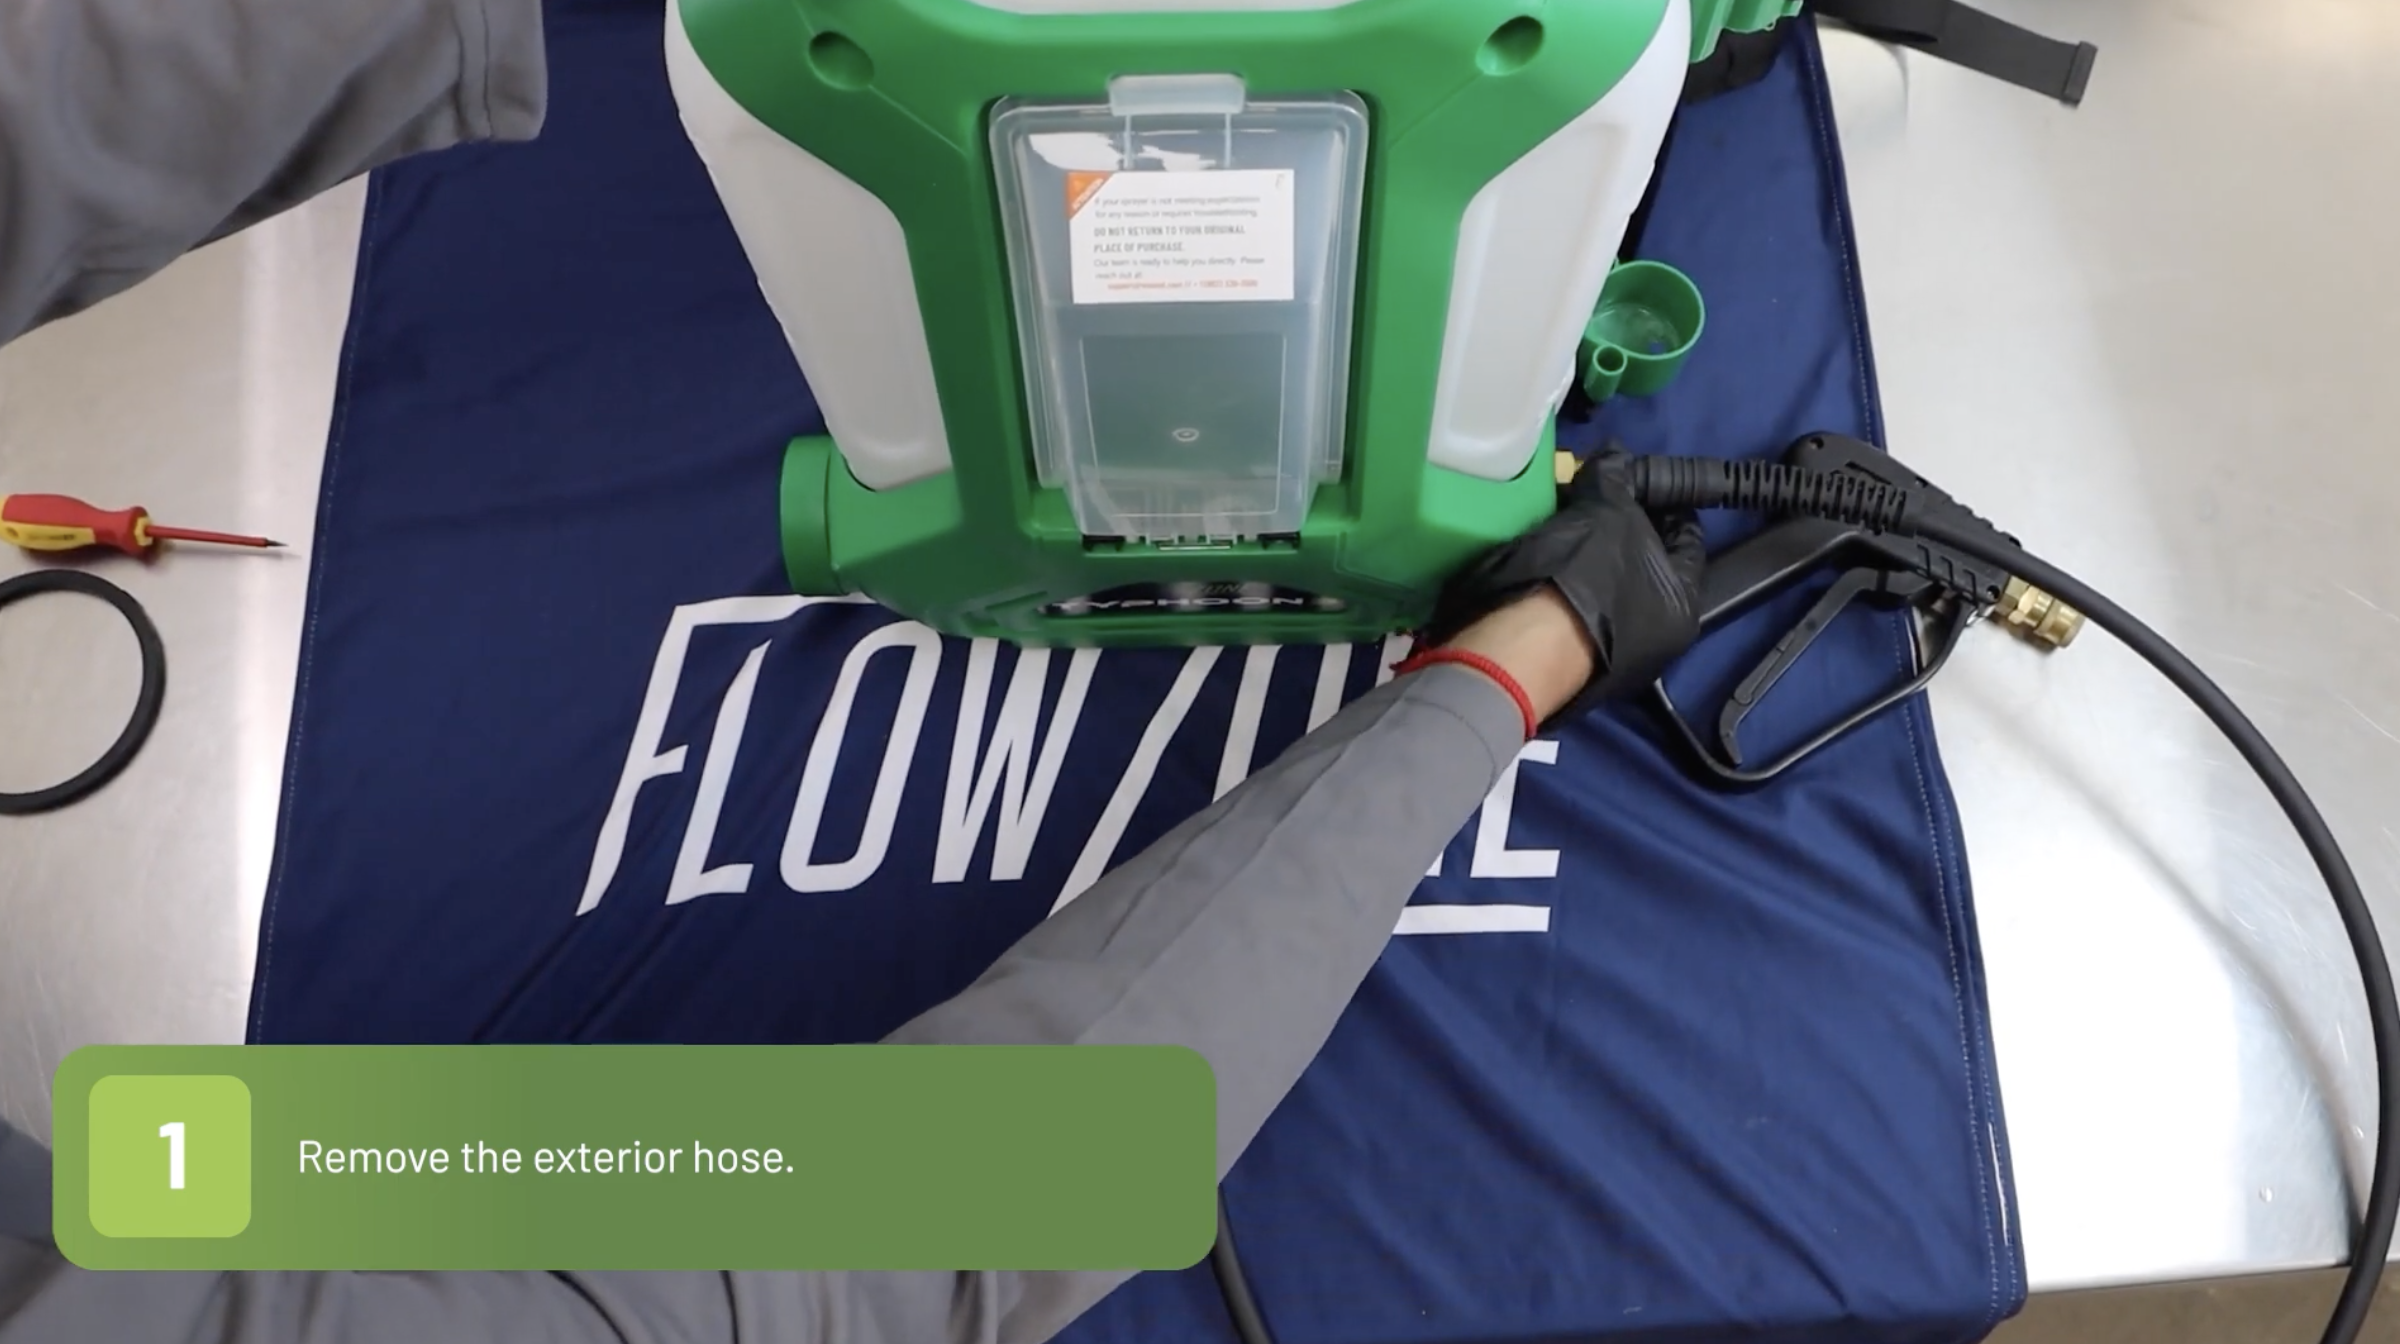
a. Remove the battery from the unit.
b. Unscrew and remove the exterior hose from the unit
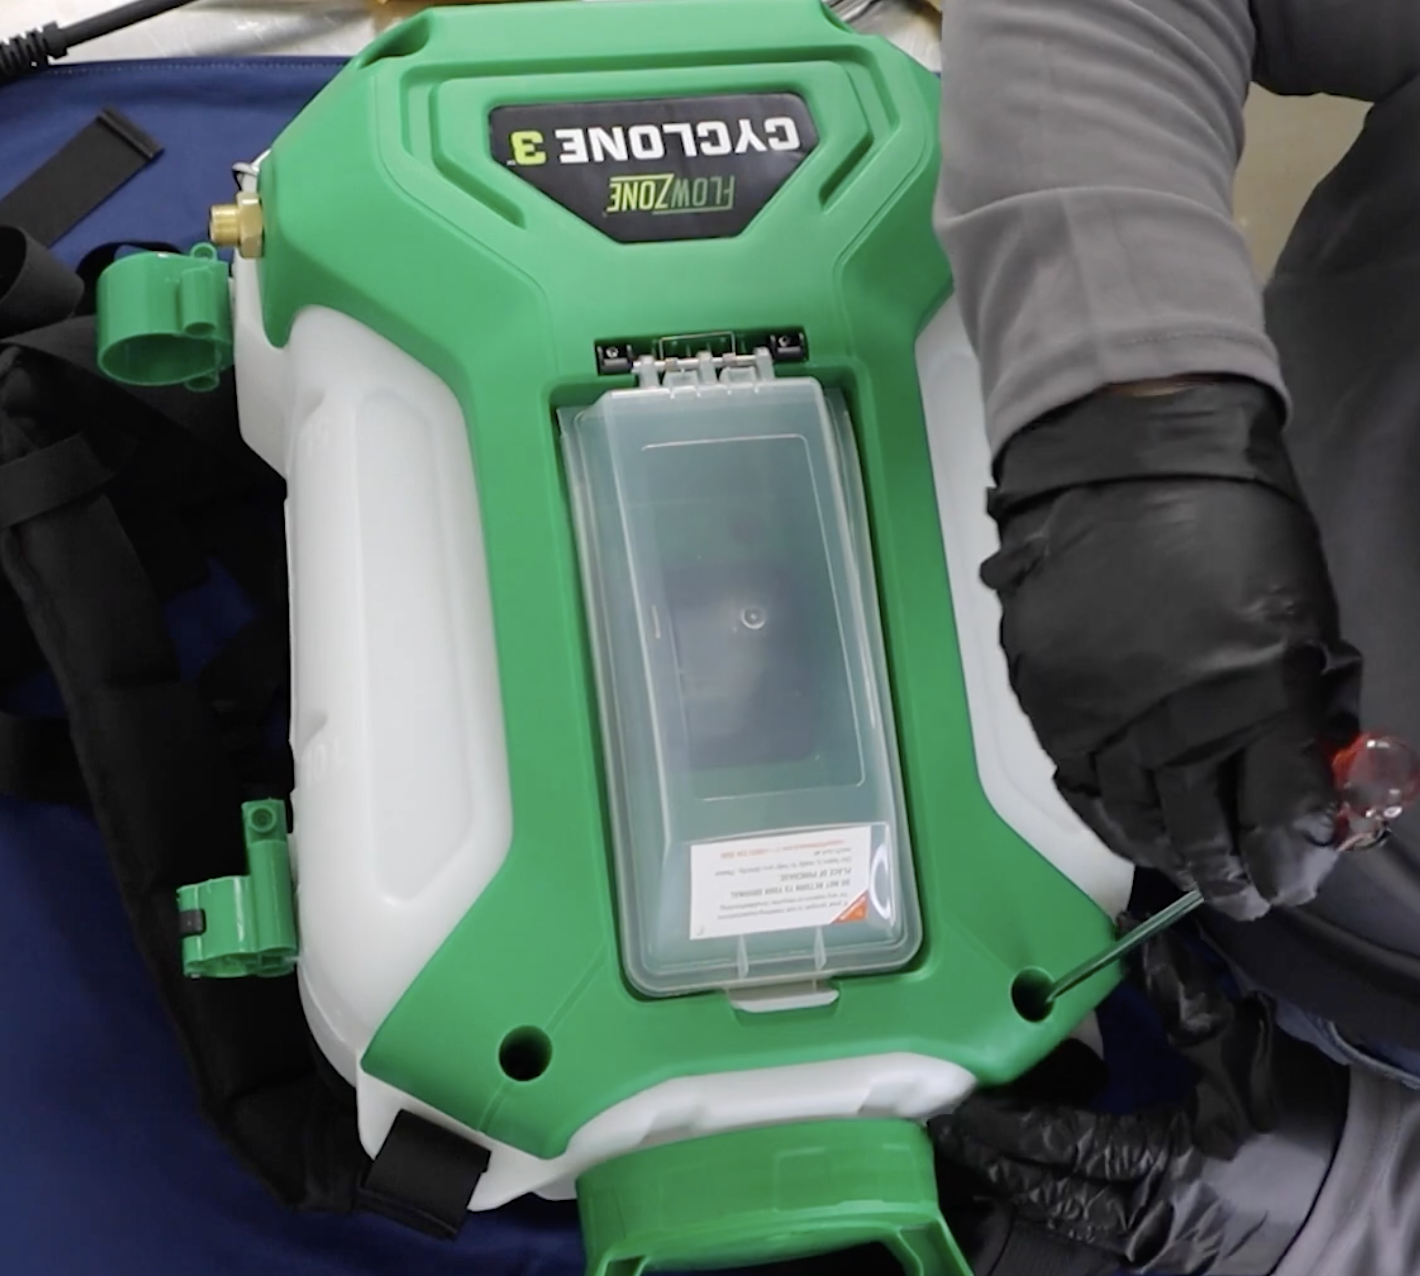
STEP 2 : Detach The Front Cover Plate Unscrew the seven screws that are securing the front cover plate. Note that there are three screws located under the battery door.
STEP 3: Remove The Interior Jumper Hose
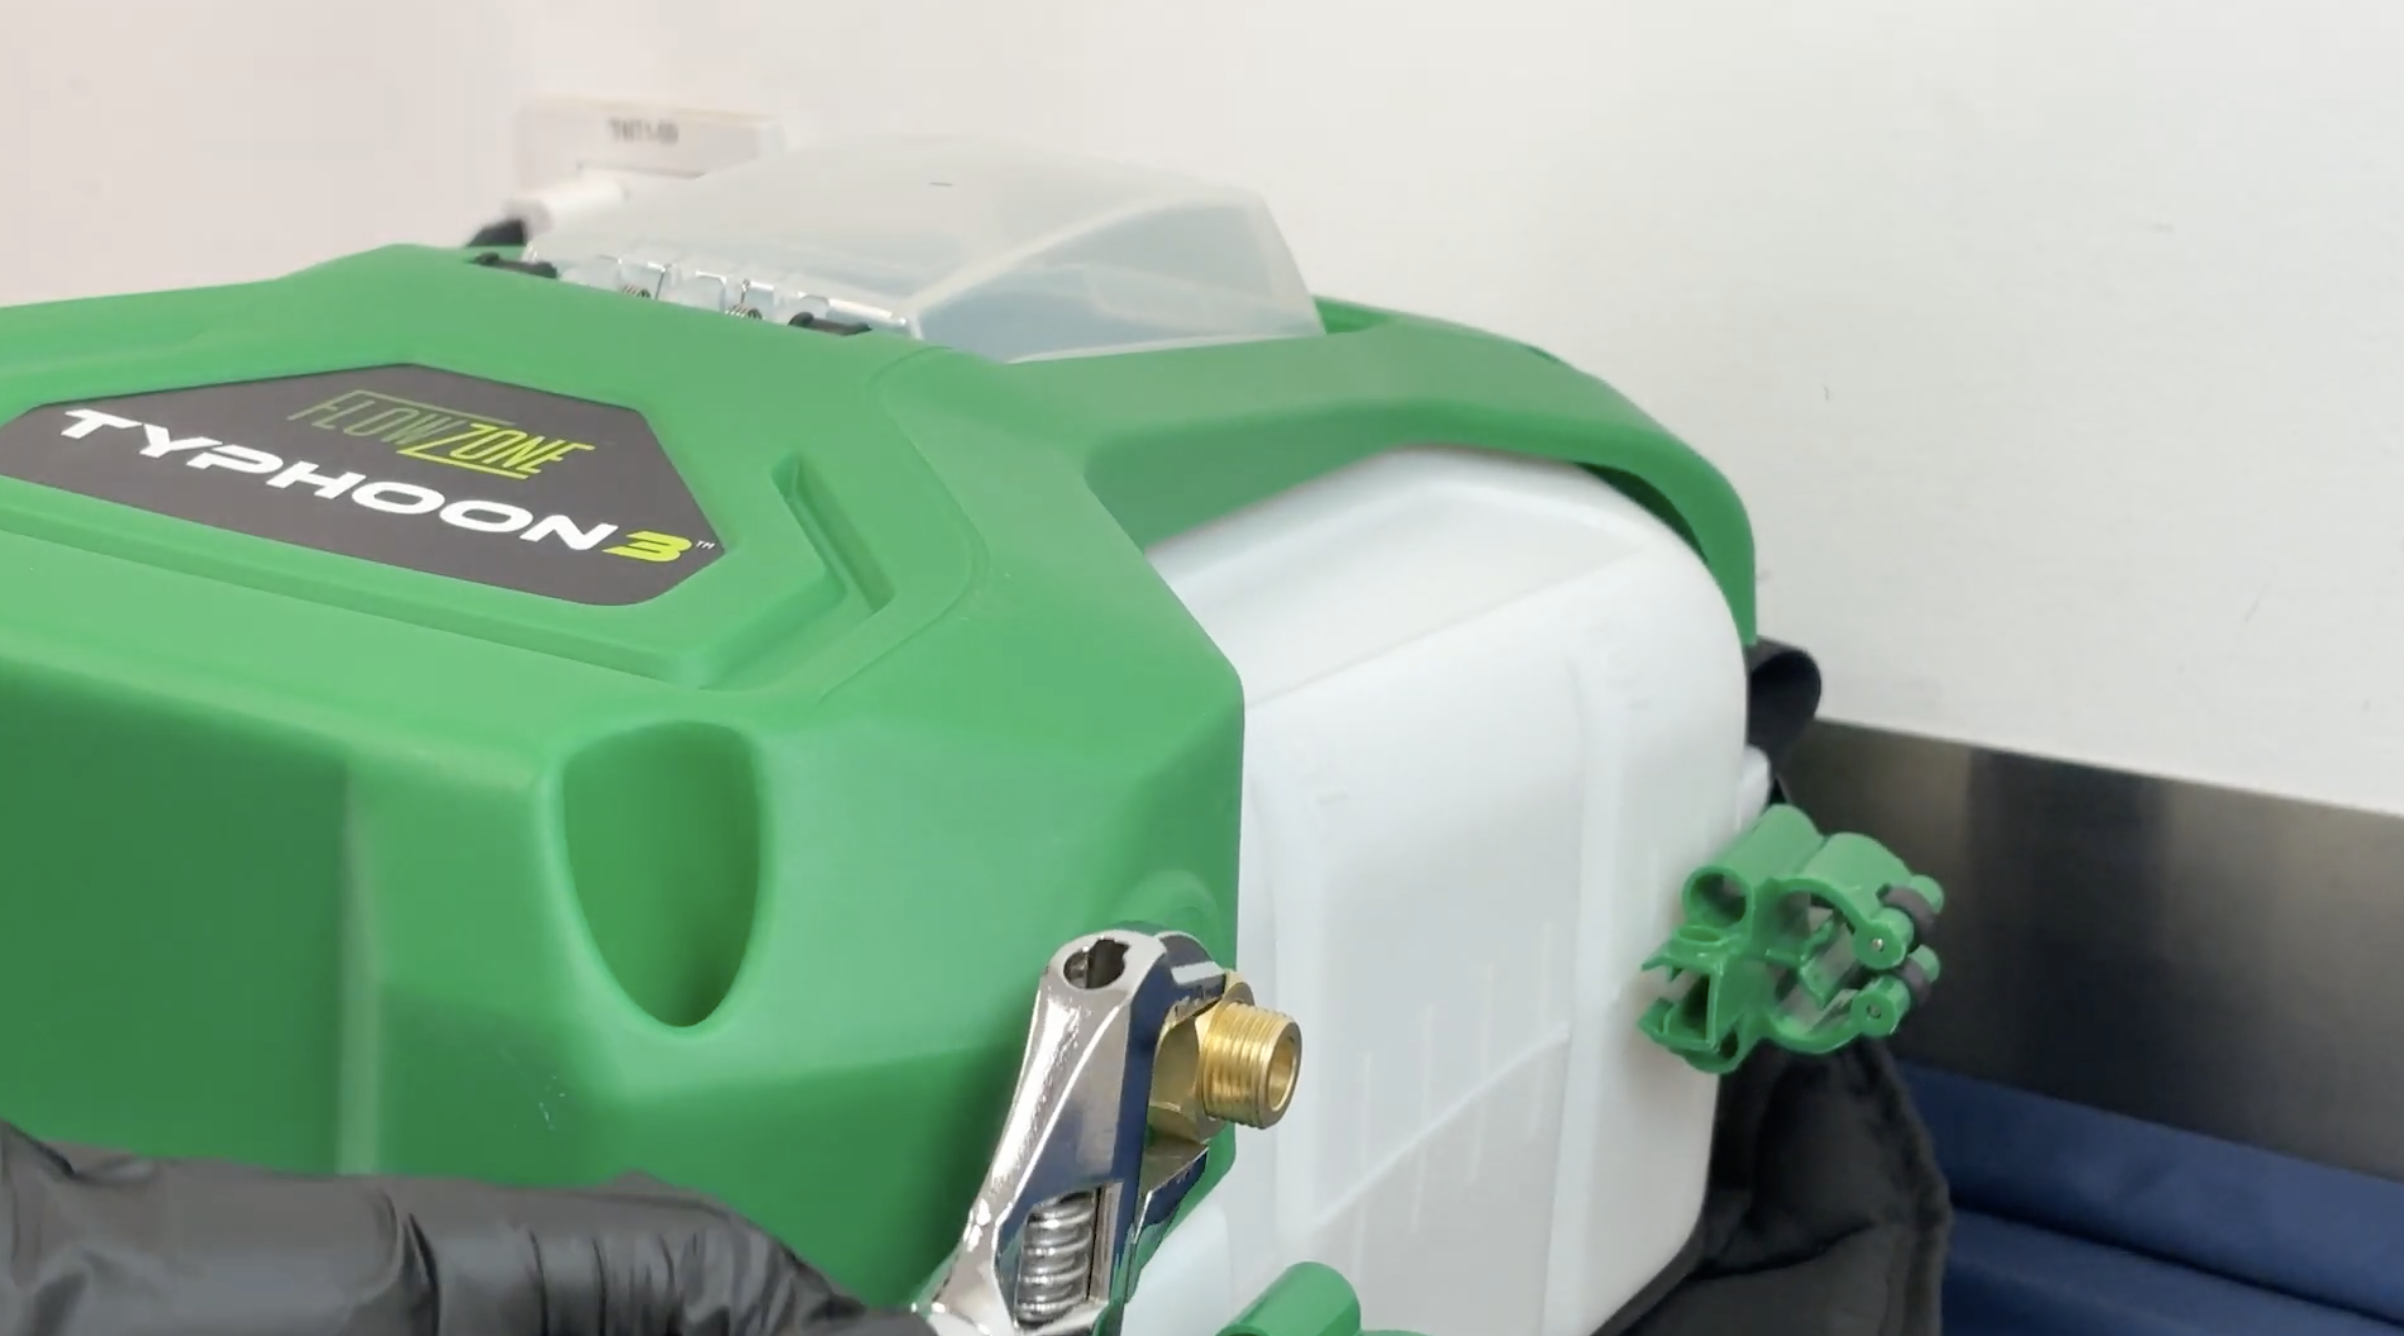
a. Loosen and remove the nut from the hose connection with a wrench. Set the nut to the side for later.
b. Open the front cover plate and locate the interior jumper hose that connects to the diaphragm pump.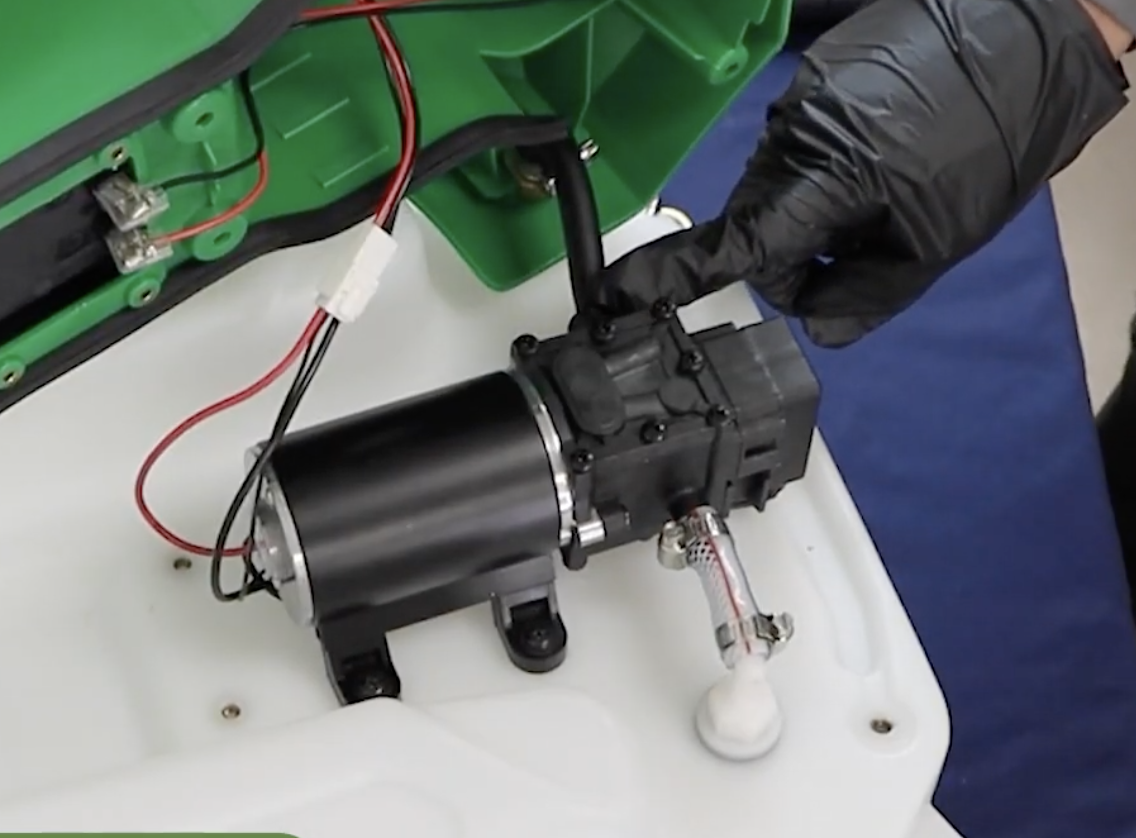
c. Twist off the collar that is securing the interior jumper hose to the pump barb.
d. Disconnect the interior jumper hose by gently pulling it off the pump barb.
STEP 4: Prepare The New Jumper Hose For Installation
a. Prepare the new interior jumper hose by dipping the end into hot water for 1 to 2 minutes.
Note: Hot water will help to soften the rubber that the hose is made of and will make the installation easier.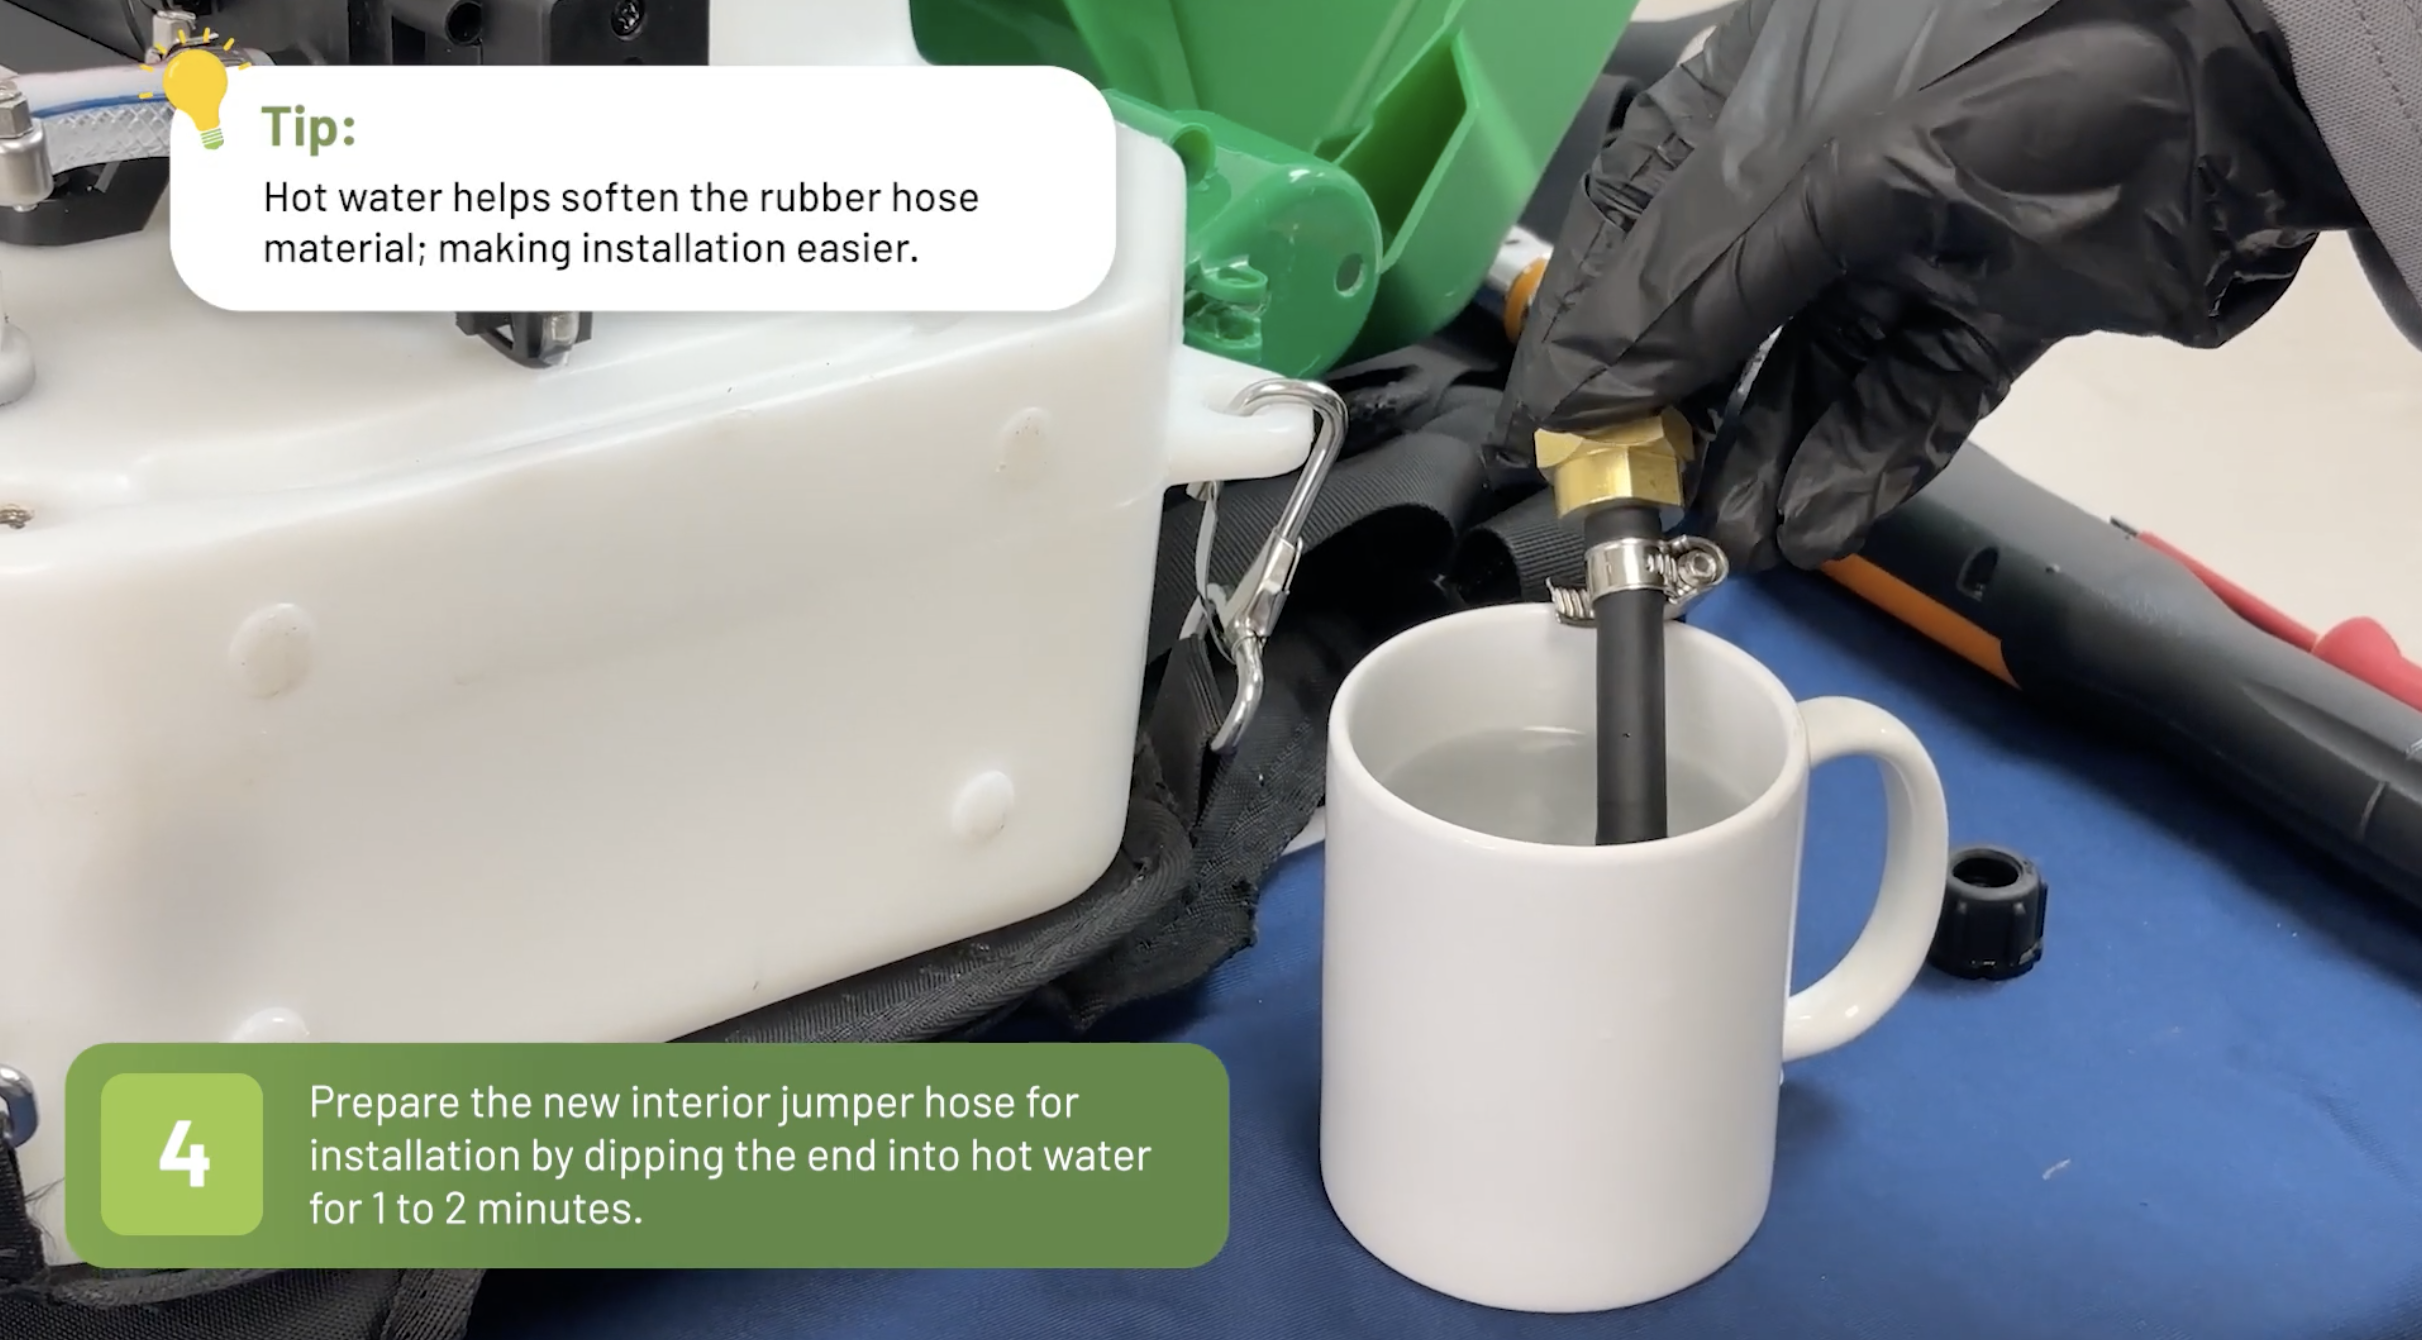
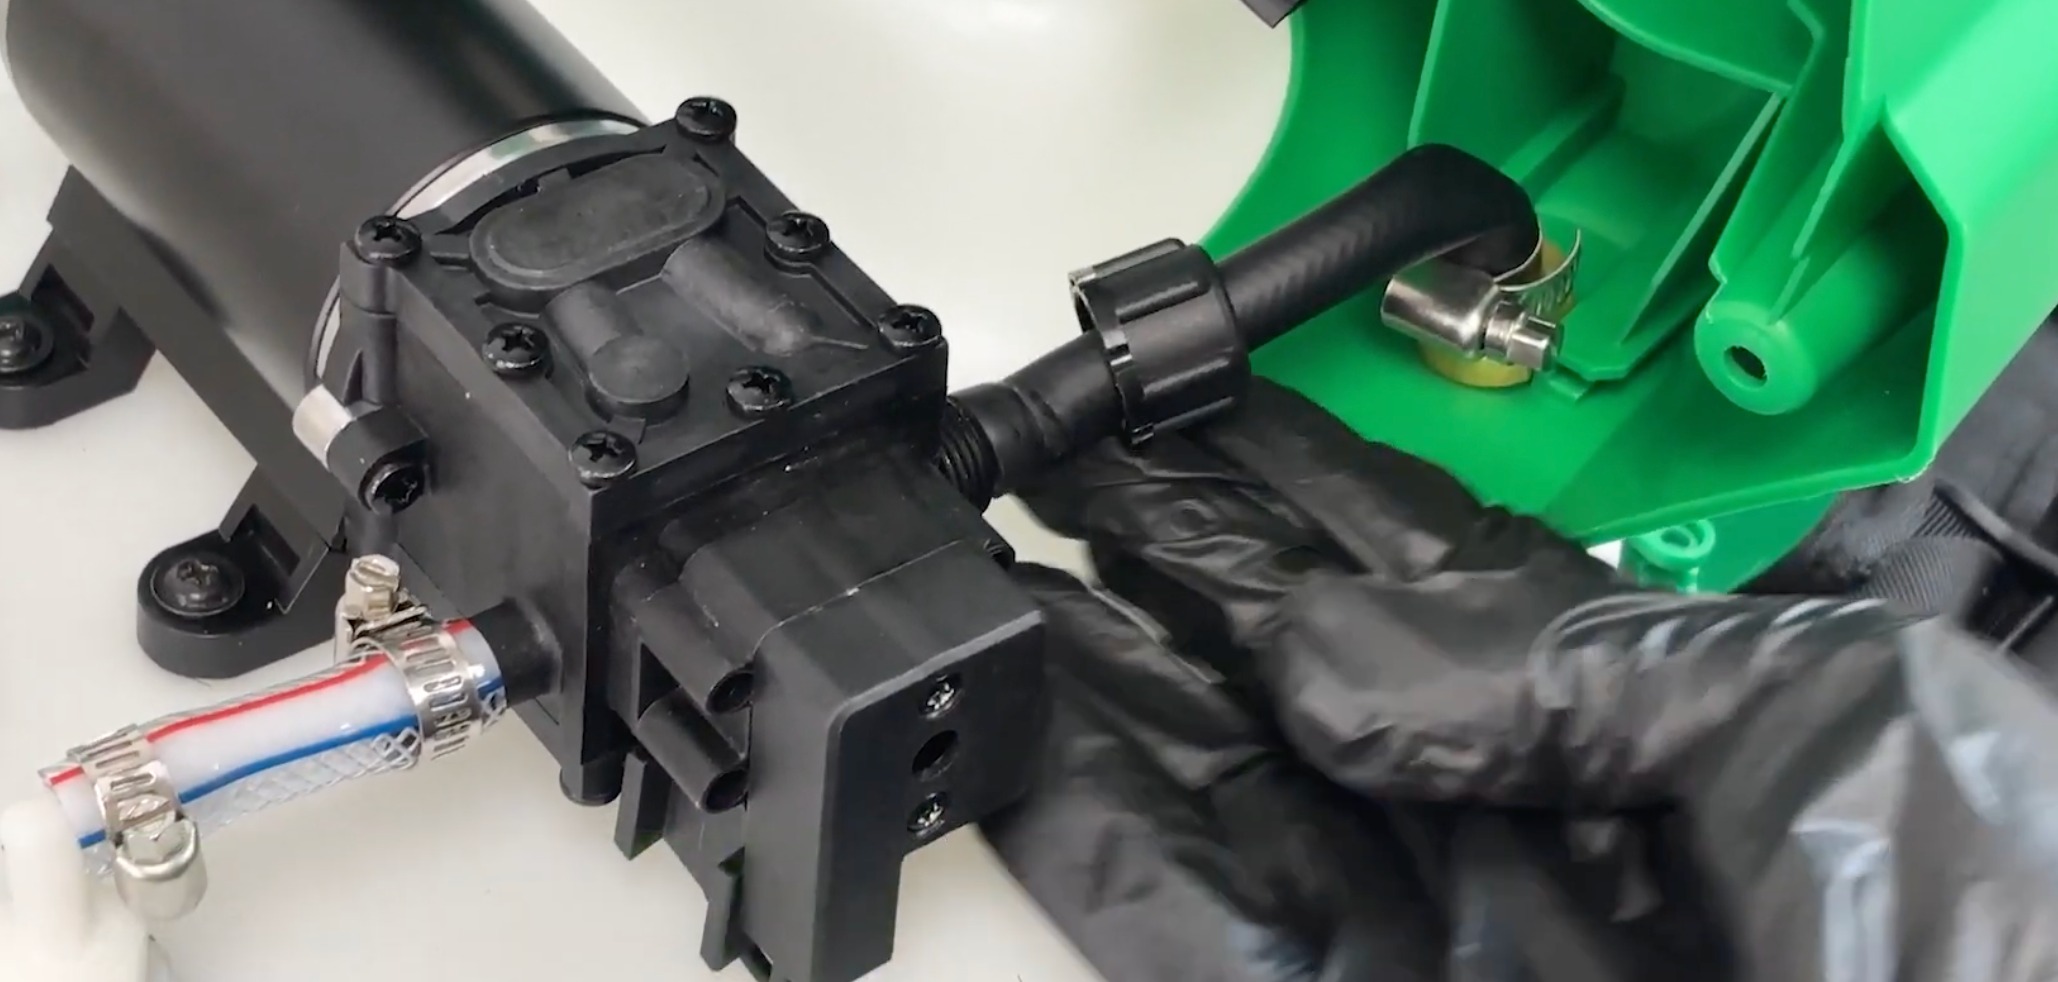
b. Slide the collar onto the jumper hose.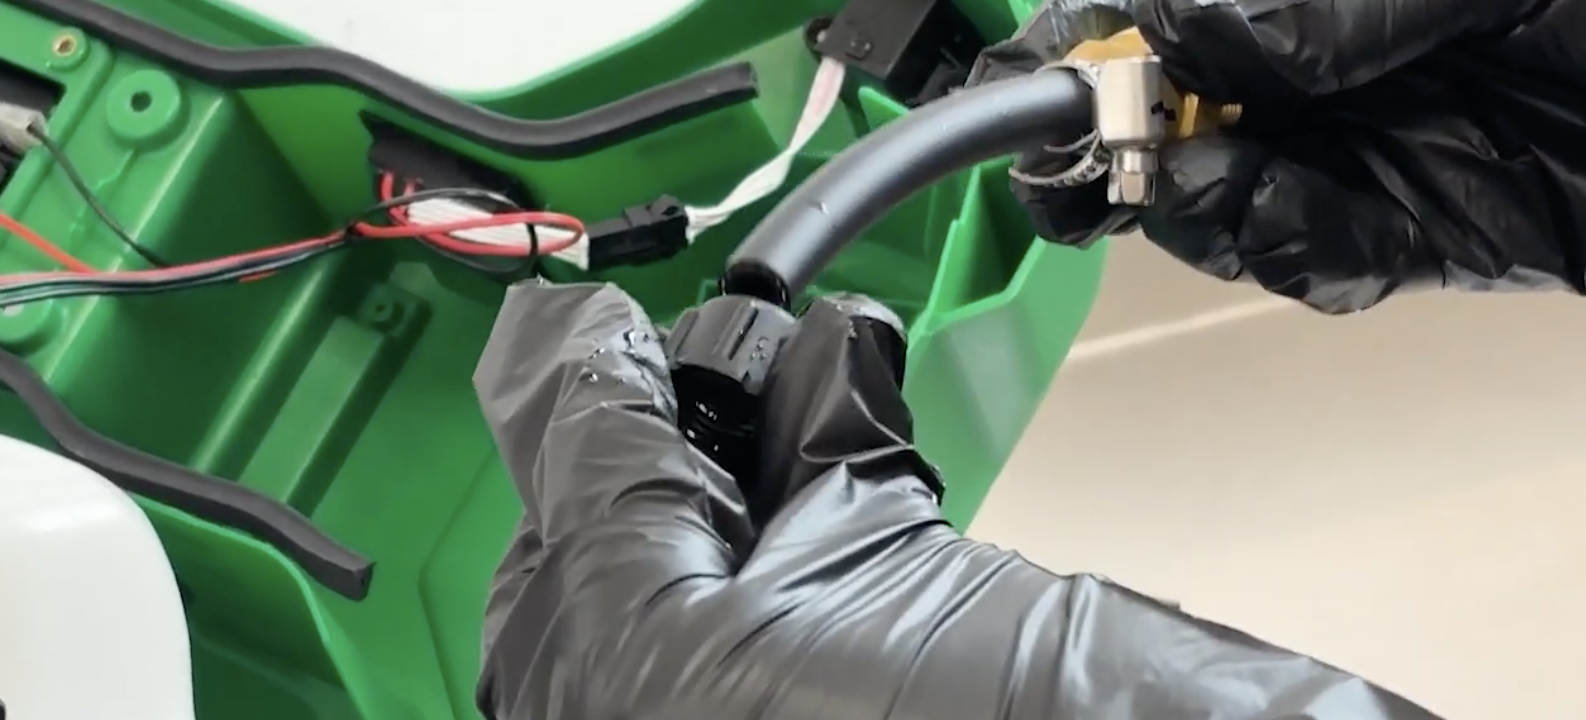
c. Bring the jumper hose up to the pump barb and wiggle the end of the hose onto the pump barb.
d. Secure the collar onto the pump barb.
STEP 5: Reattach The Front Cover Plate
a. Remove the nut from the new interior jumper hose.

b. Line the threaded hose connection up to the hole on the front cover plate ant push it through while closing the front cover.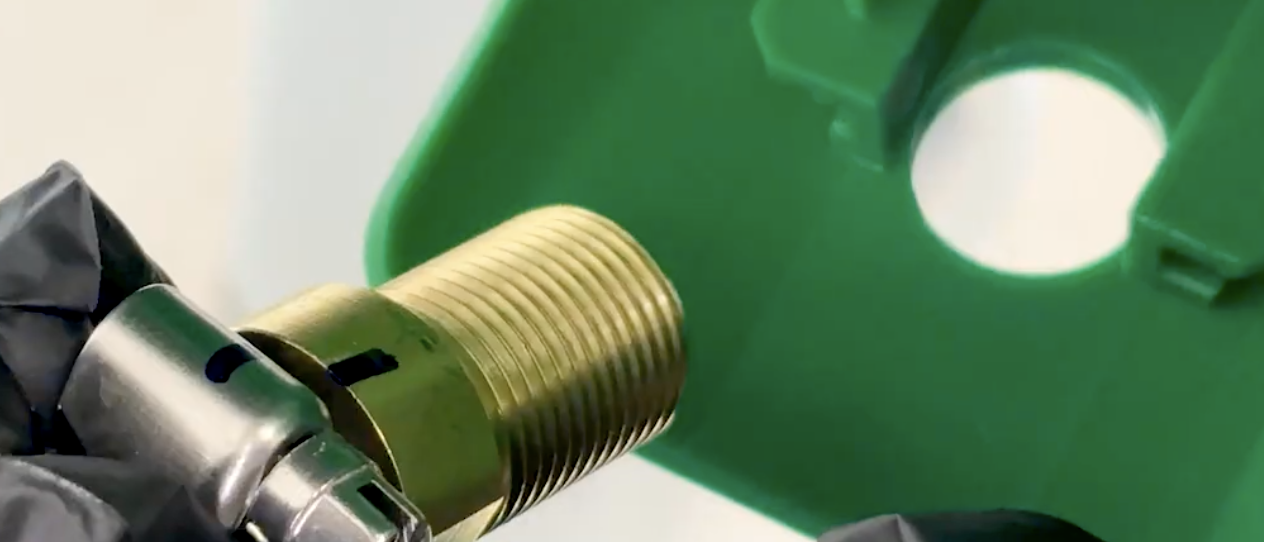
c. Take the nut and hand tighten it onto the hose connection. We will fully tighten it on a later step.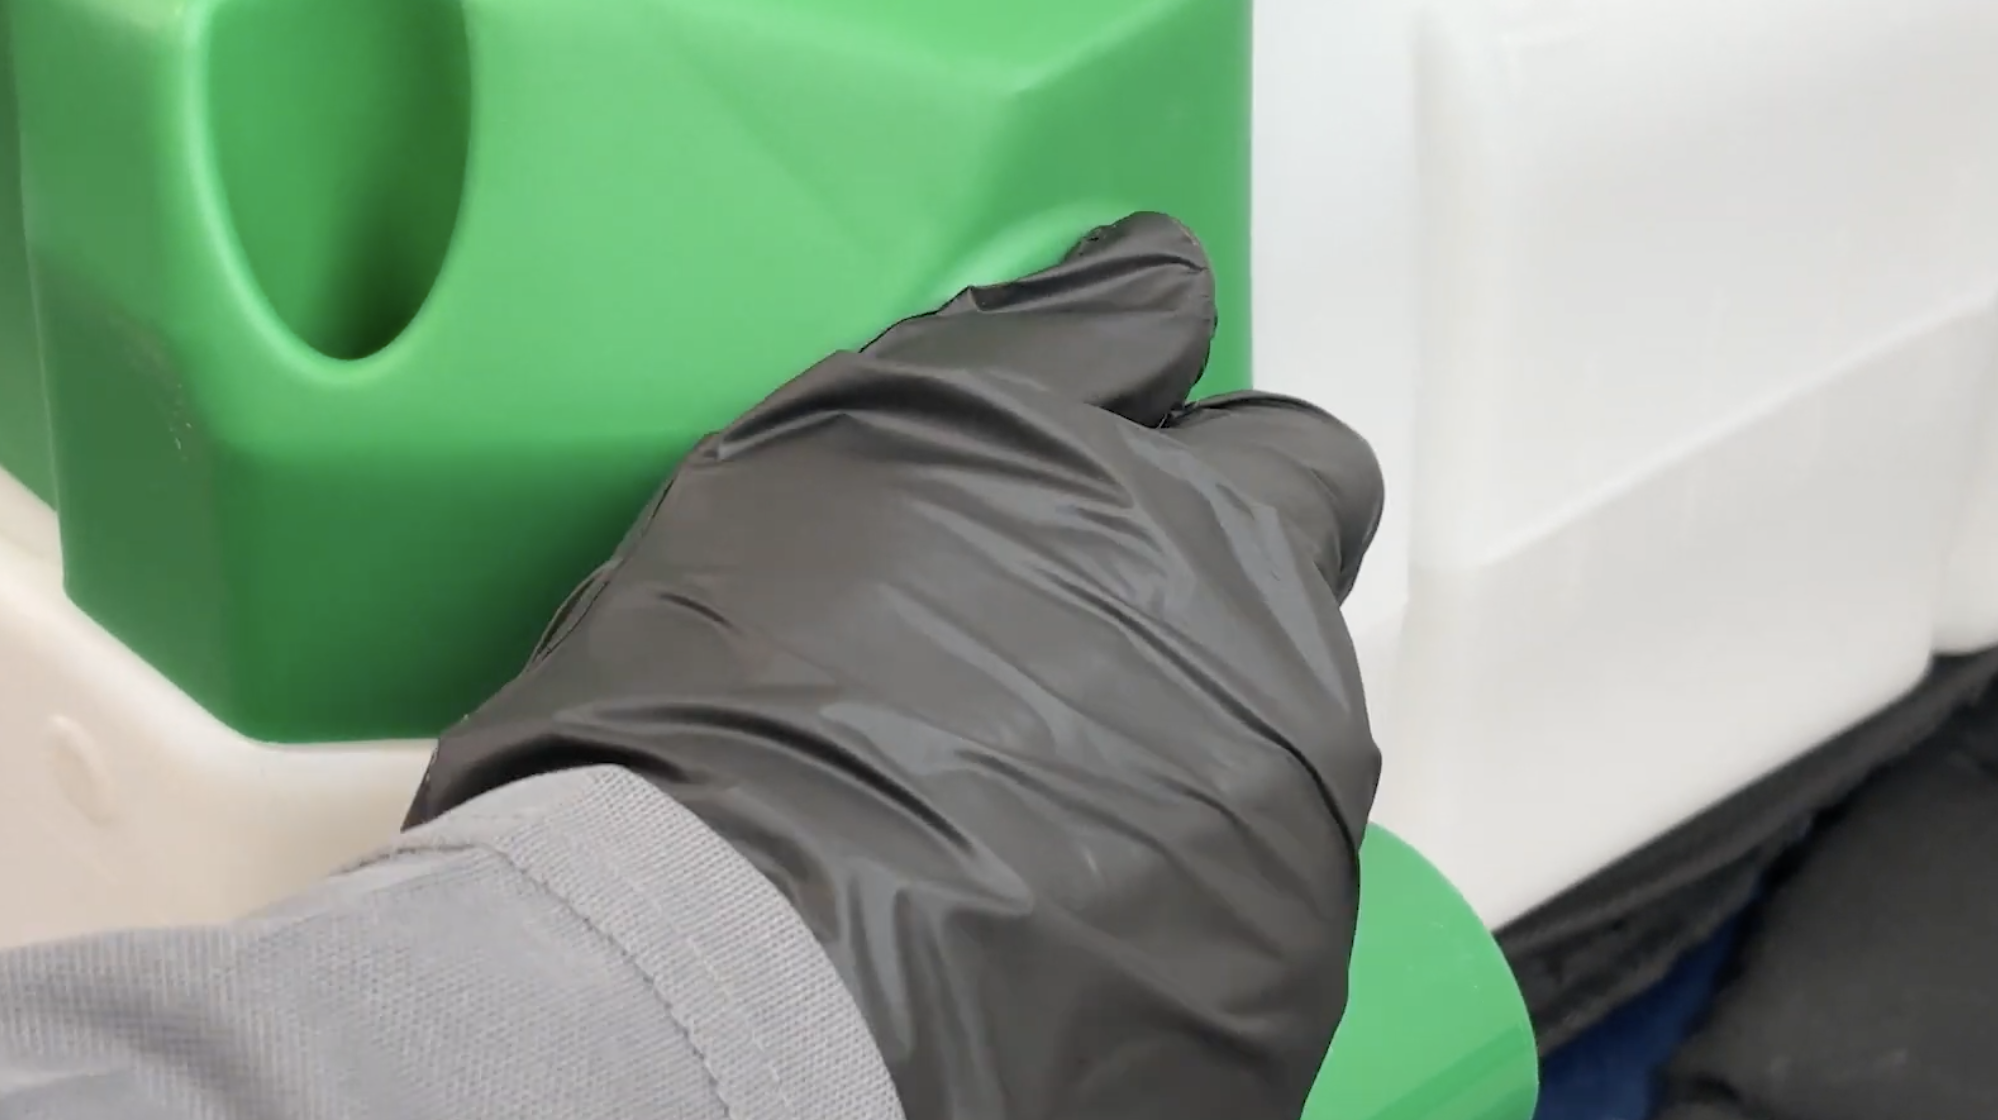
d. Take the seven screws and secure the front cover plate back onto the unit.
e. With the front cover plate back on, you can now use the wrench to fully tighten the nut on the hose connection.
STEP 6: Reattach The Exterior Hose
 Thread the new exterior hose onto the expose jumper hose connection.
Was this article helpful?
That’s Great!
Thank you for your feedback
Sorry! We couldn't be helpful
Thank you for your feedback
Feedback sent
We appreciate your effort and will try to fix the article