Tools Required: Phillip-head screwdriver, Boxcutter/Knife, Pliers (optional)This guide will walk you through the process of safely removing the existing circuit board and installing a replacement to help get your sprayer back up and running.
Watch:
Step-By-Step Instructions:
STEP 1: Remove the Front Cover Plate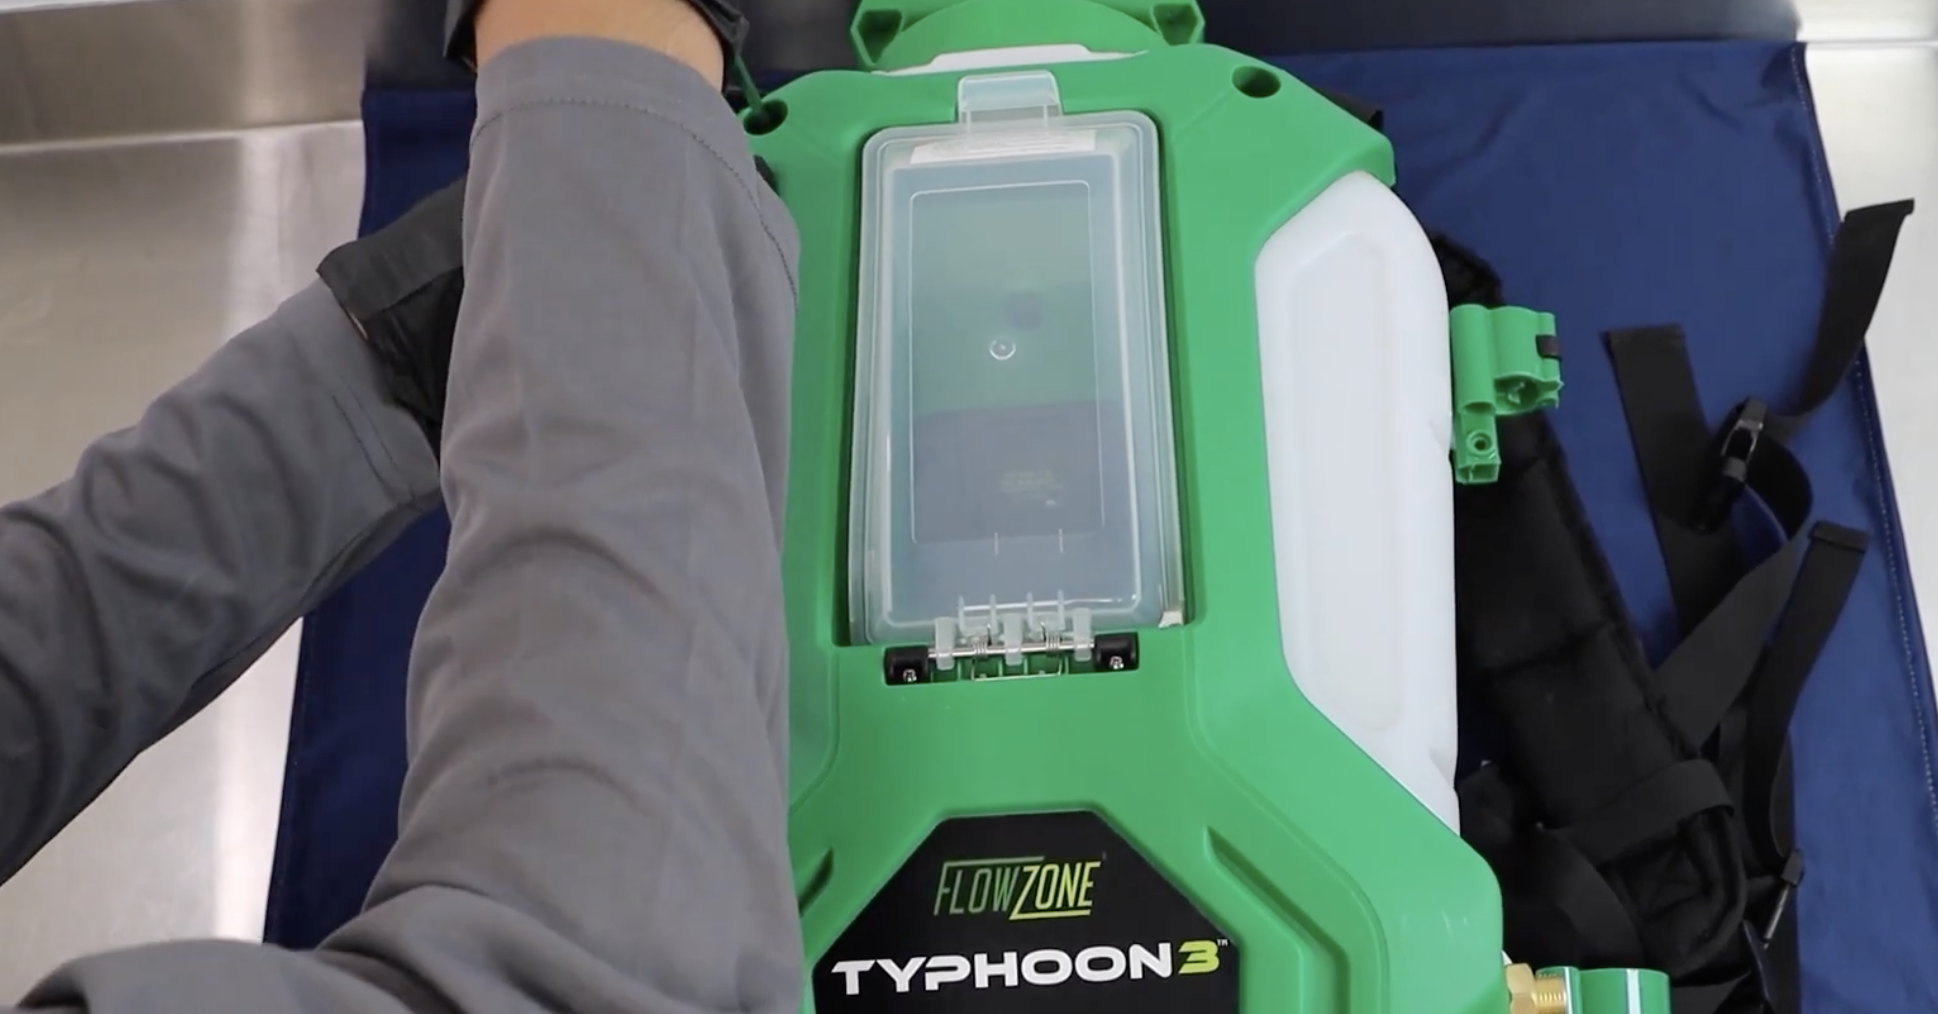
Remove the battery and the external hose from the sprayer.
- Using the screwdriver, remove the 7 screws on the front cover plate. Note that 3 screws are located under the battery cover.
- Pull the front cover plate away from the rest of the unit.
STEP 2: Disconnect Current Circuit Board
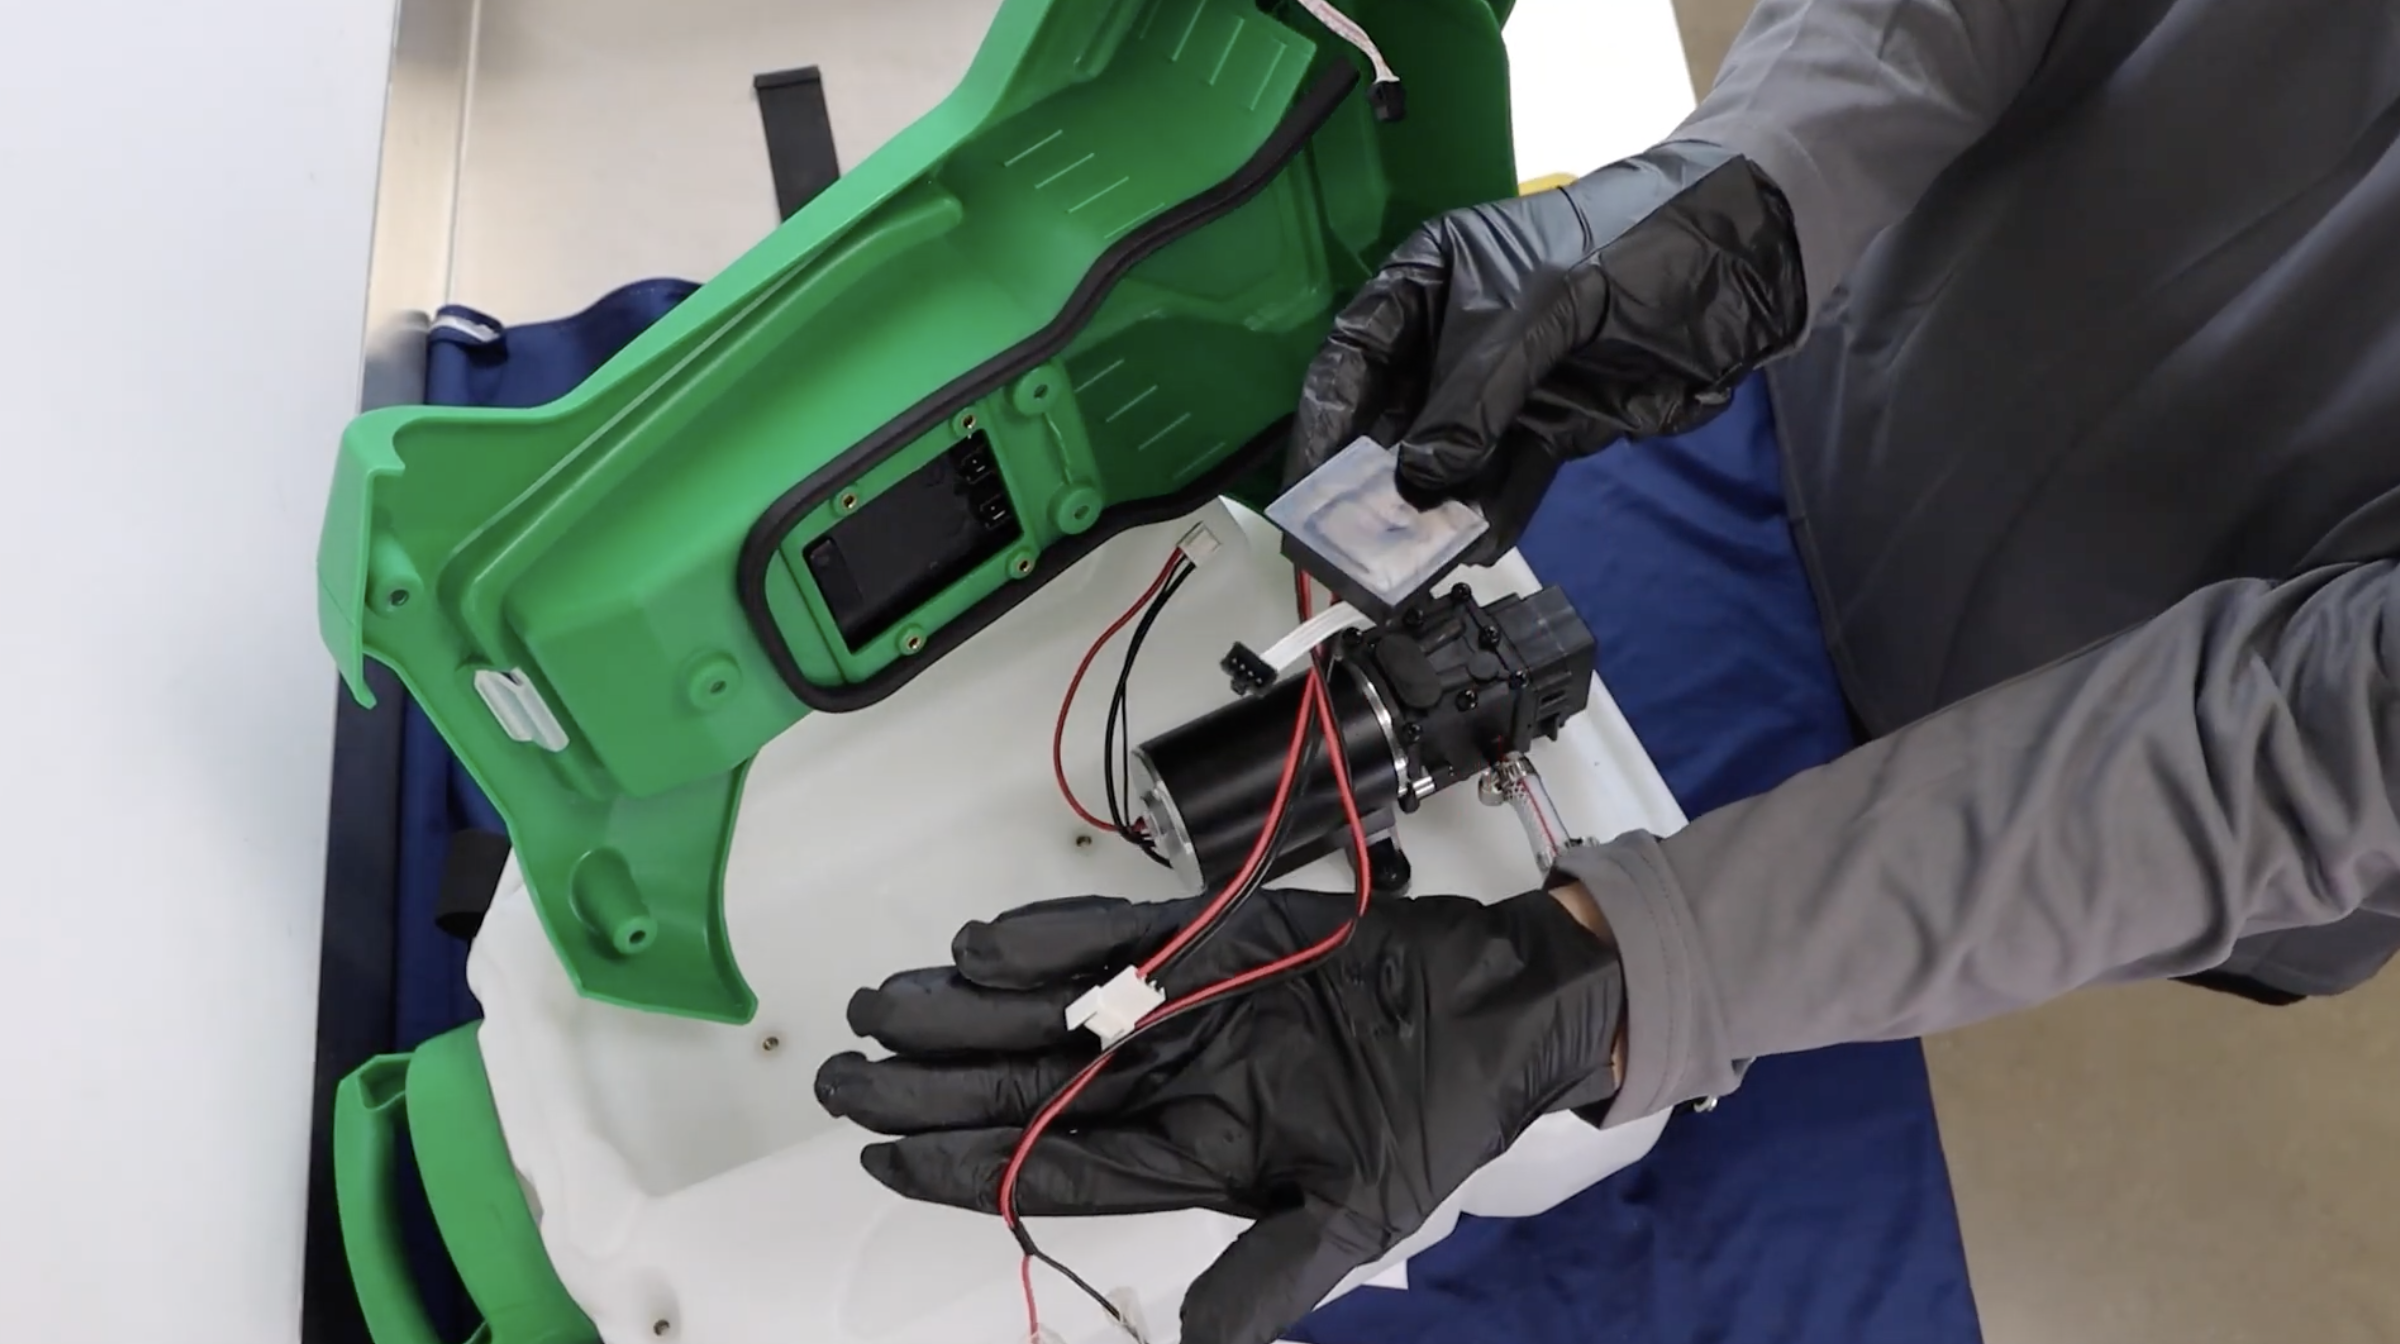
- Locate and disconnect the circuit board from the pressure dial.
- Disconnect the wire from the circuit board to the diaphragm pump.
- Gently disconnect the circuit board wires from the battery holster on the front cover plate.
STEP 3: Install Replacement Circuit Board
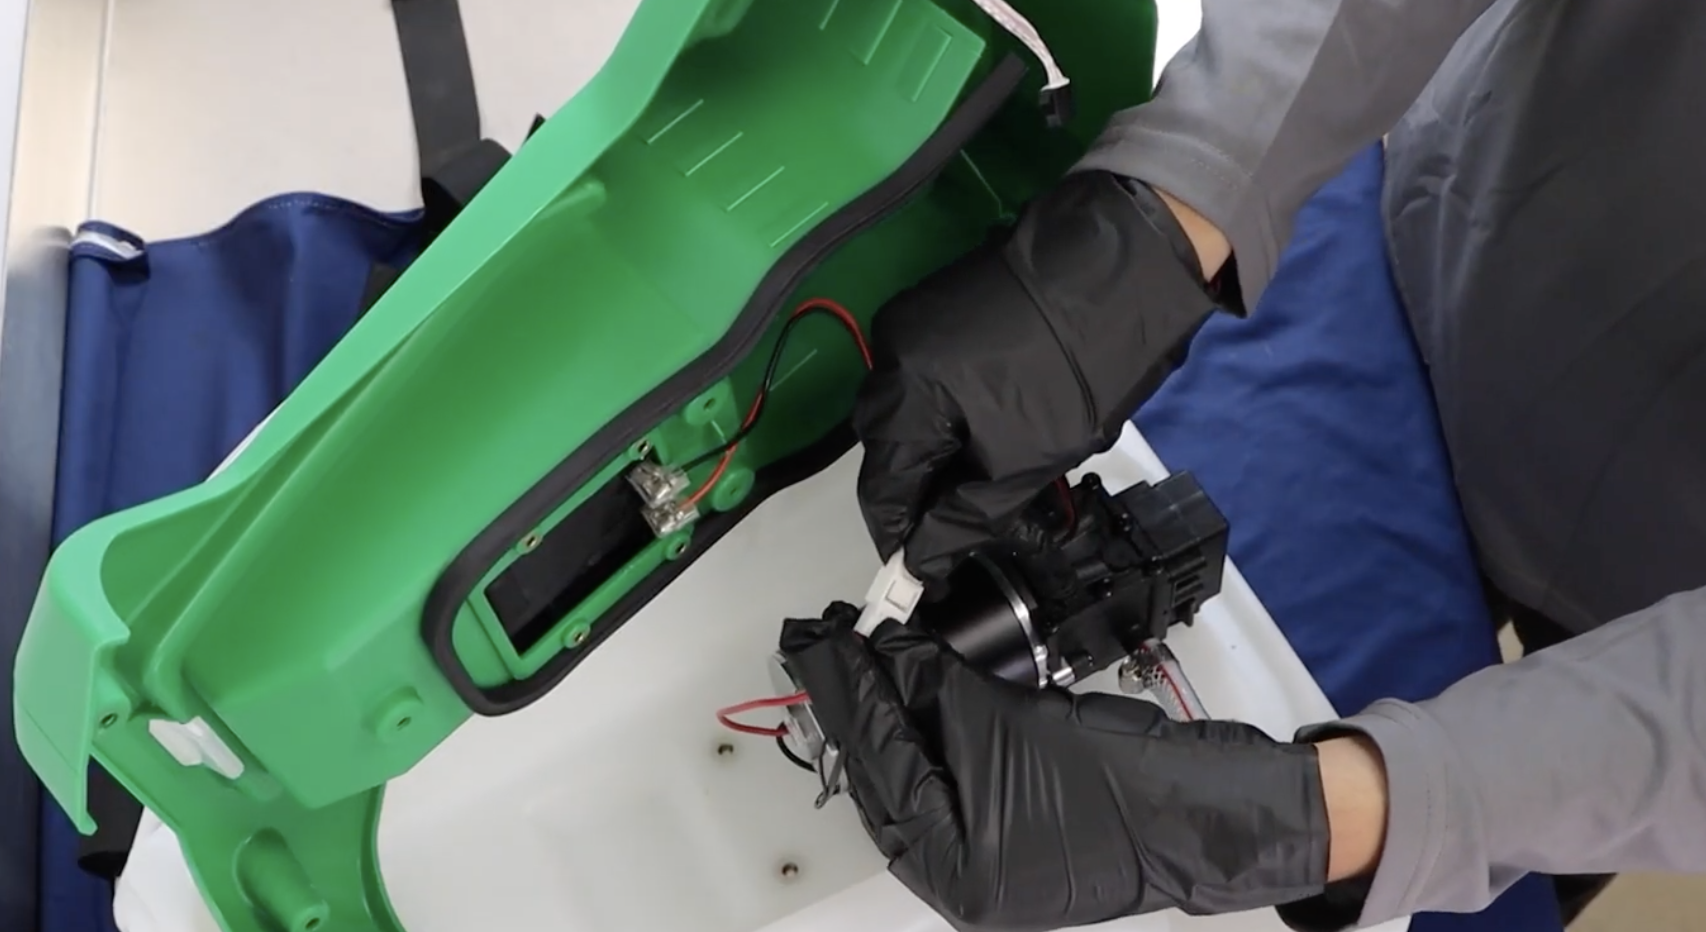
- Take the replacement circuit board and connect it to the battery holster. Make sure you connect red to "+" and black to "-".
- Connect the replacement circuit board to the diaphragm pump.
- Connect the replacement circuit board to the pressure dial.
- If the circuit board was displaced, slide it back into the designated slot on the front cover plate.
STEP 4: Test the Sprayer
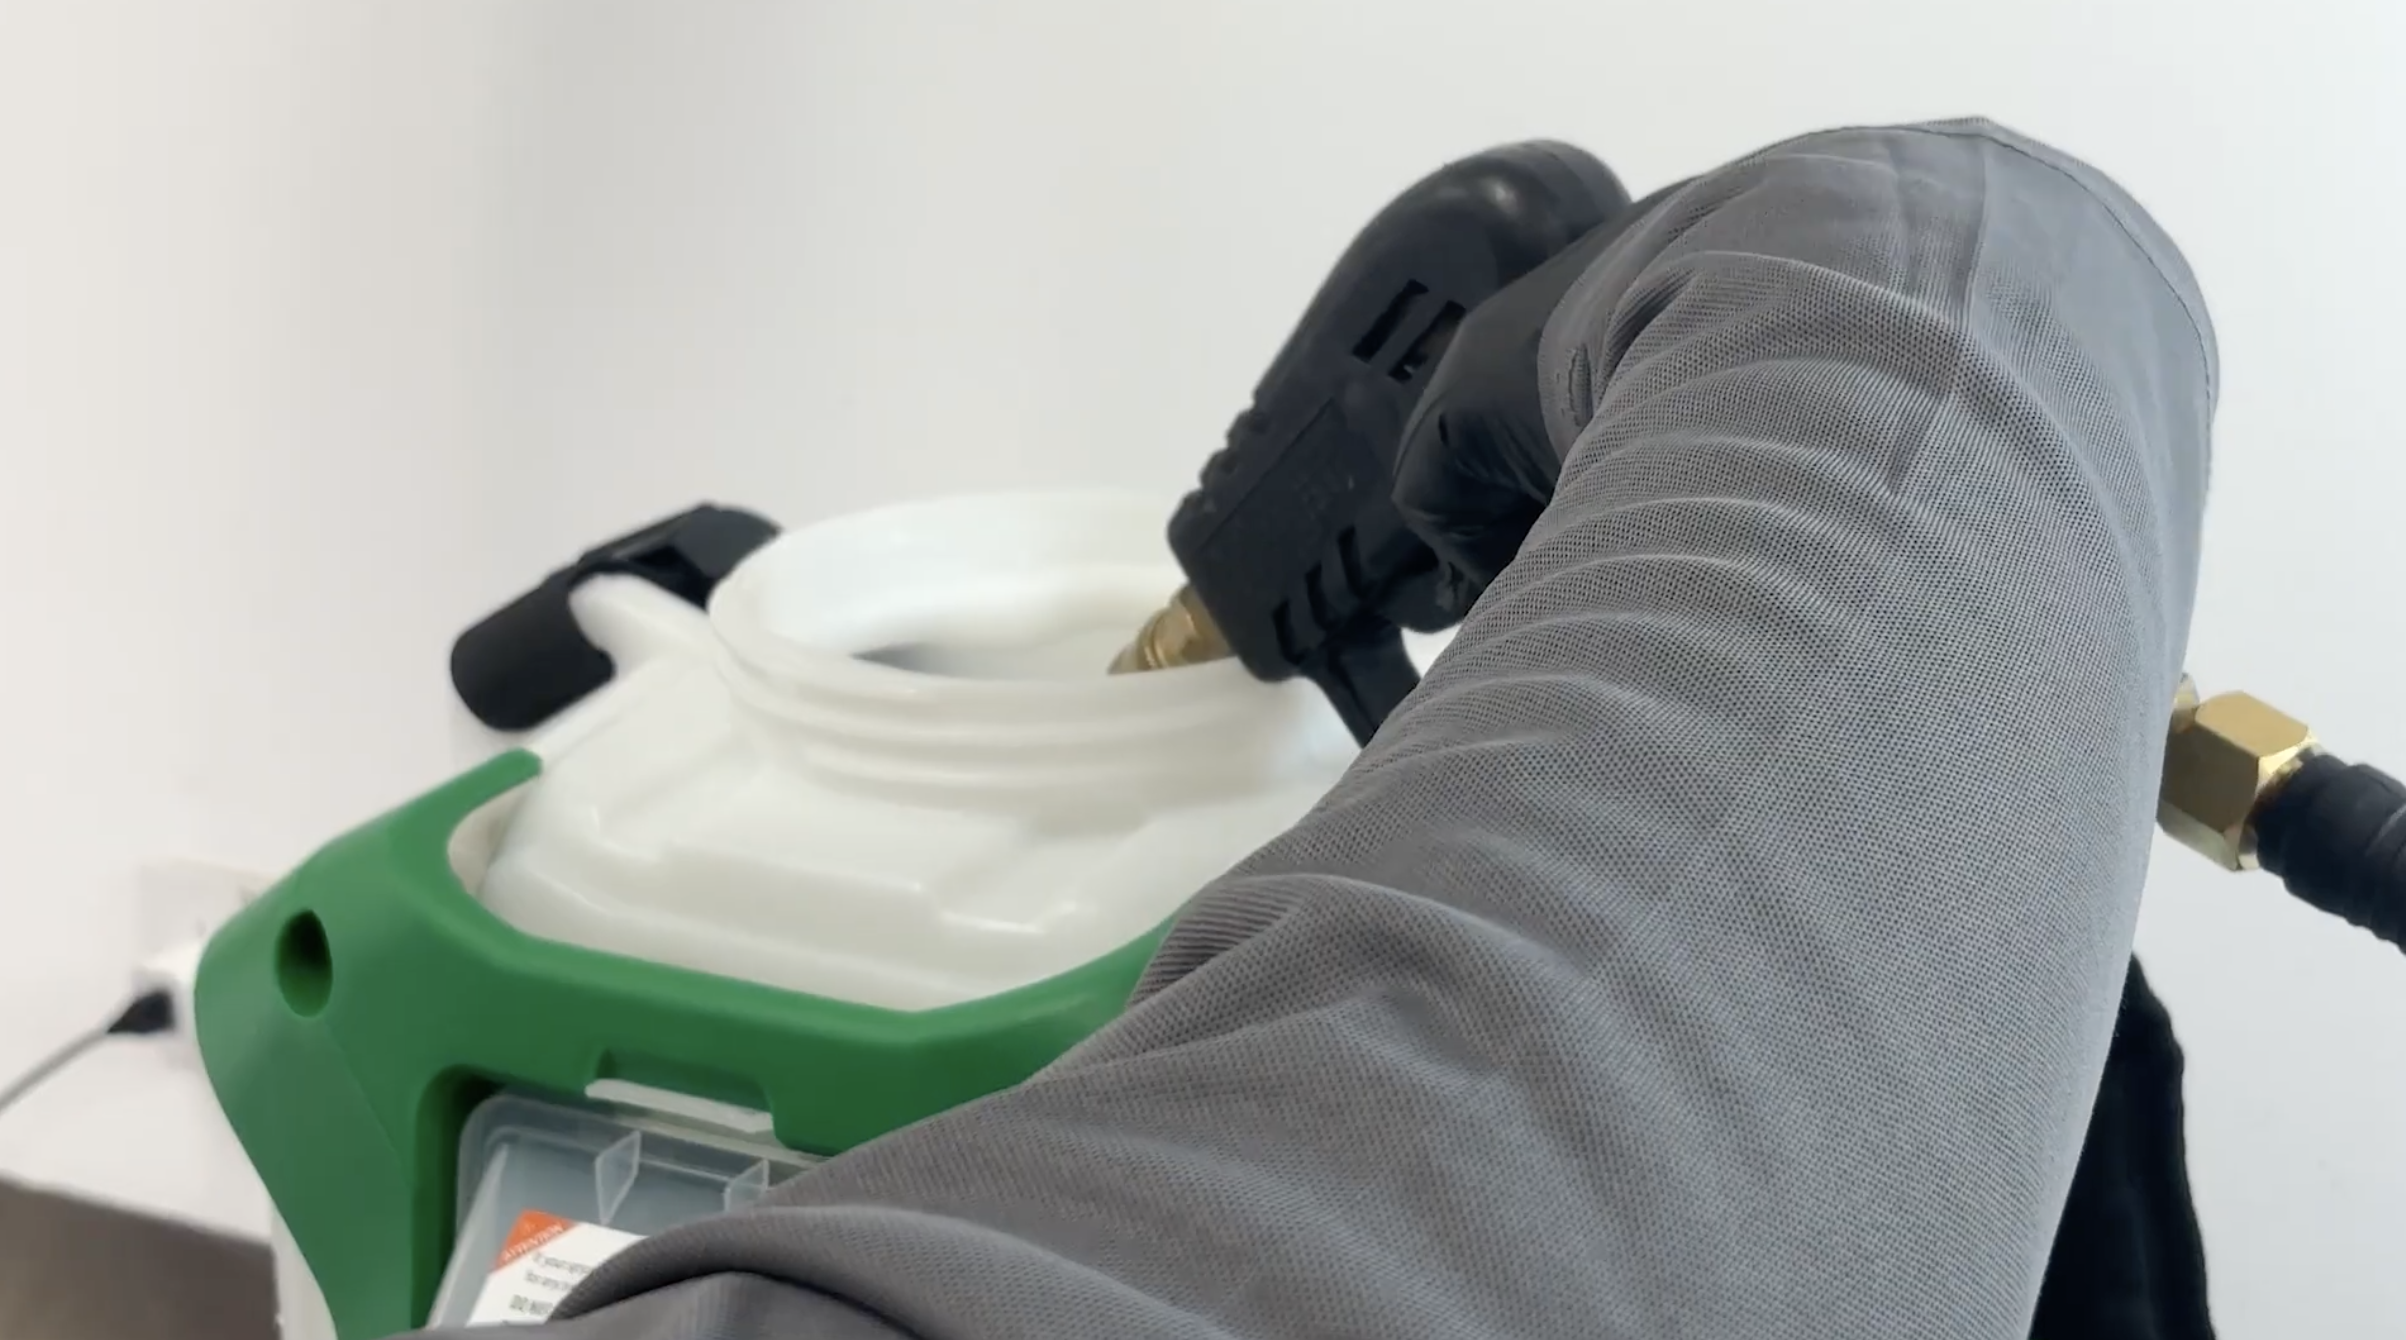
- It is a good idea to test the sprayer before reinstalling the front cover plate. Start by attaching the external hose and inserting a charged battery
- Pour some water into the sprayer
- Turn the sprayer on and activate the trigger.
Note: Be careful not to get any liquid on the internal components and wiring.STEP 5: Reinstall the Front Cover Plate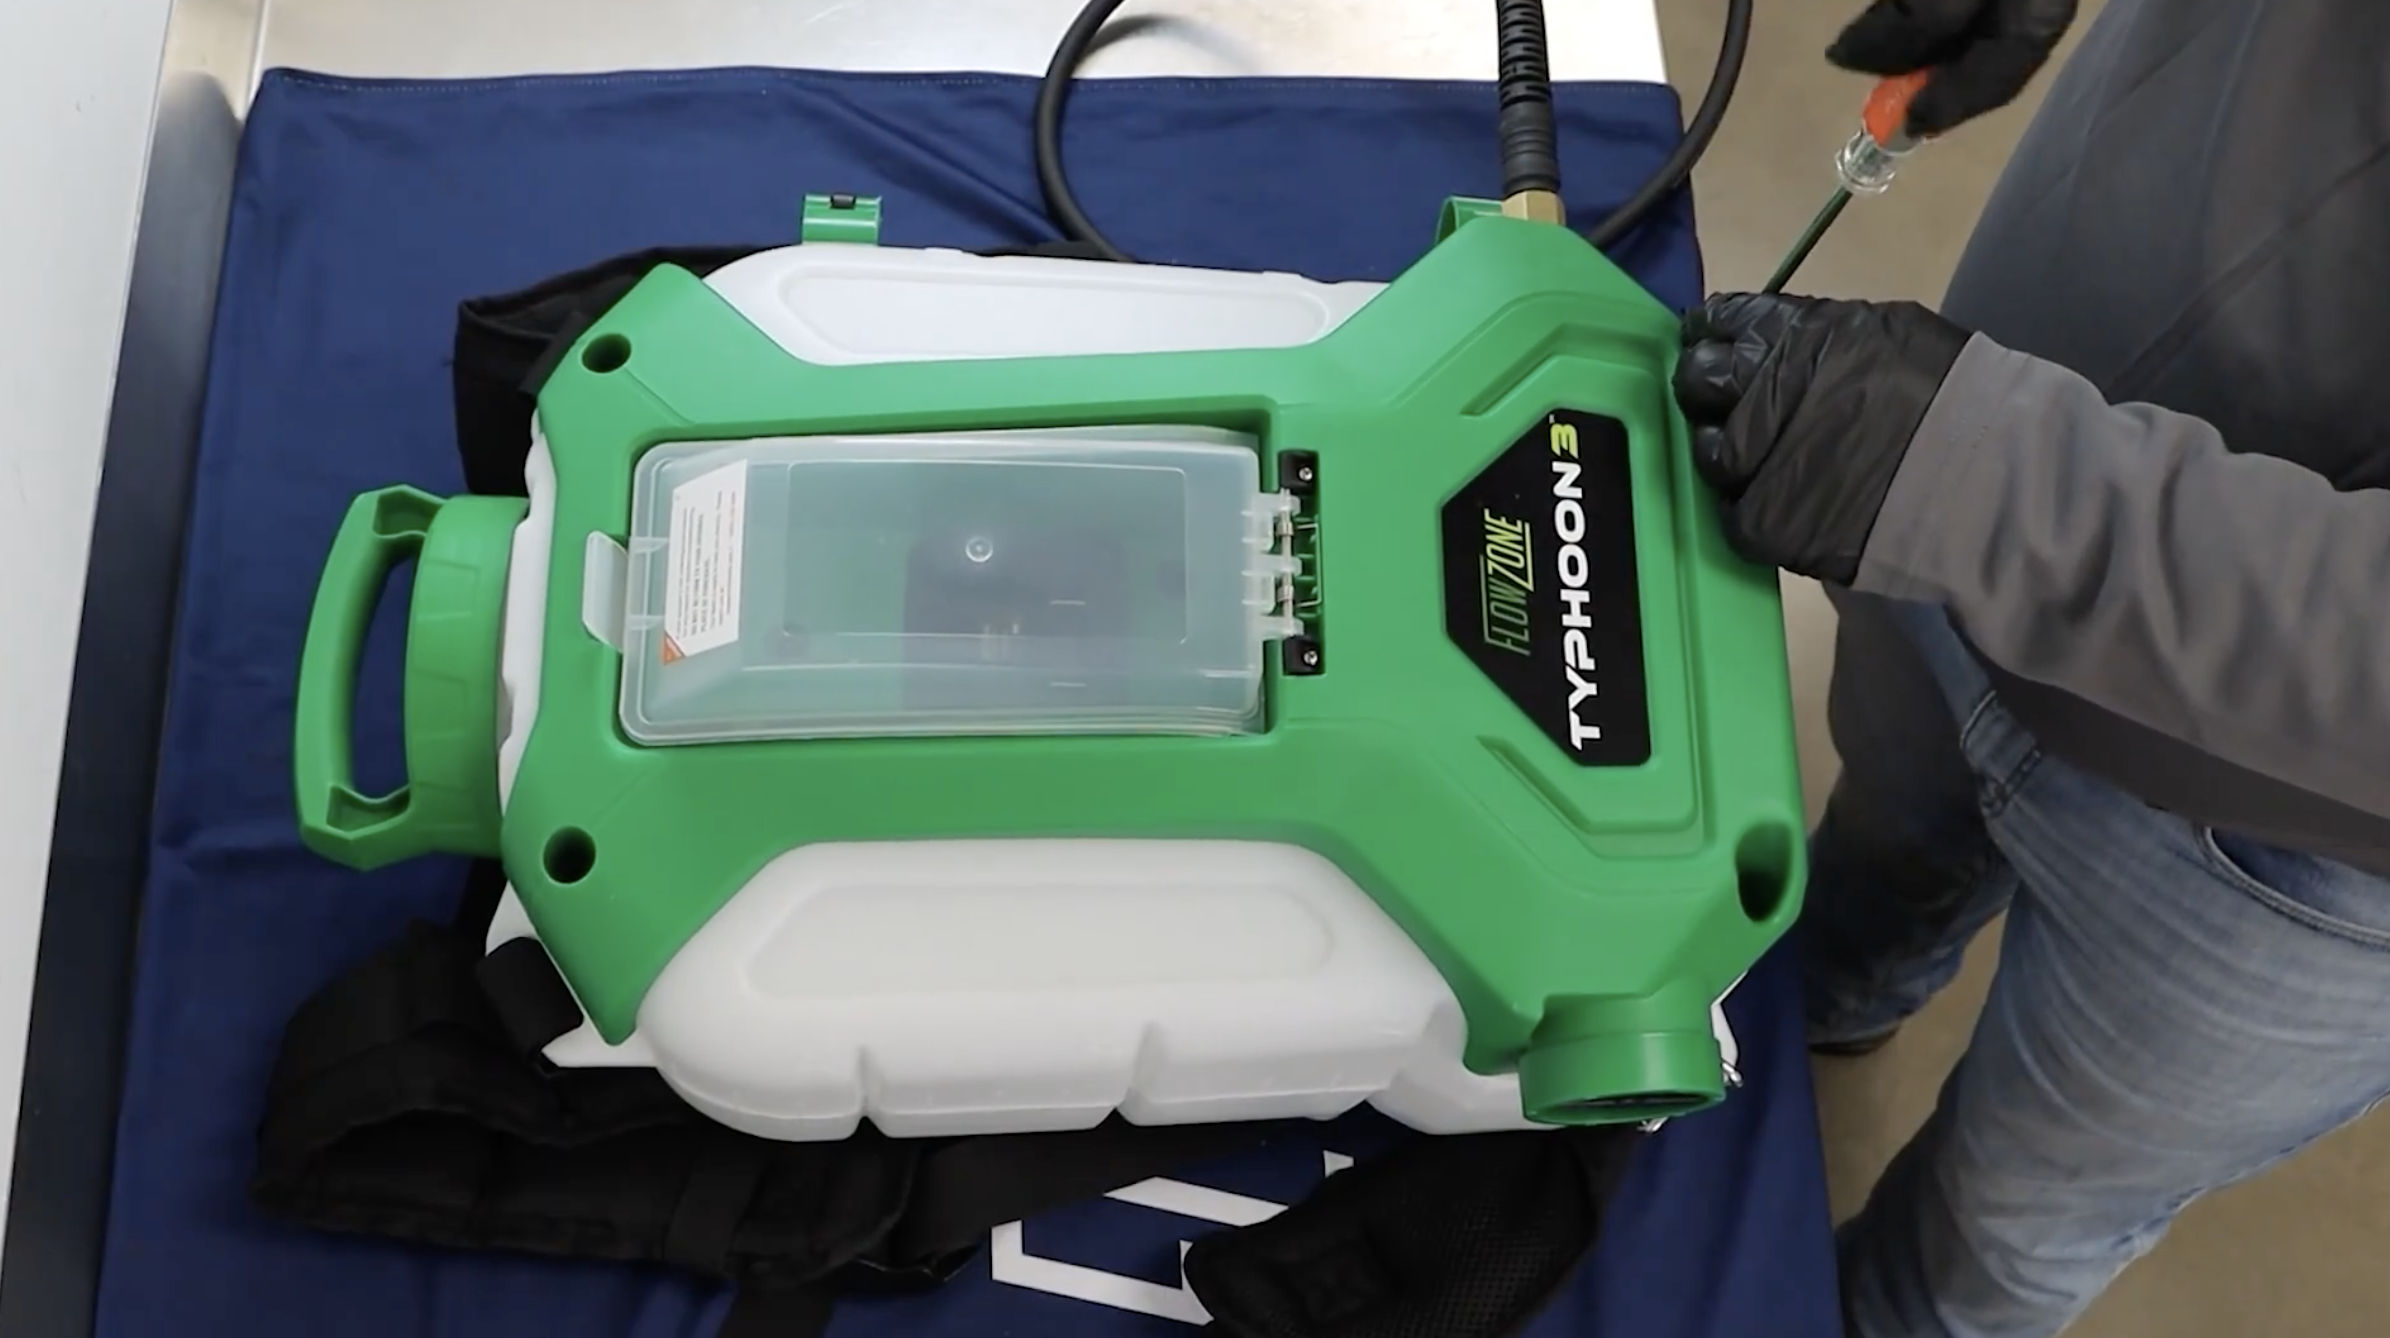
If the sprayer is working properly, reinstall the front cover plate using the 7 screws from earlier.
Was this article helpful?
That’s Great!
Thank you for your feedback
Sorry! We couldn't be helpful
Thank you for your feedback
Feedback sent
We appreciate your effort and will try to fix the article